Print preparation
PNG or SVG for QR Codes? A Print Preparation Guide
Choose an export format and use downloadable samples to check your print workflow.
By GhostQR ·
Use SVG when a QR code is going into professional print artwork or may be resized. Use PNG when the software receiving the code does not accept SVG, or when you know the final printed size and can supply enough pixels. Both formats can produce a reliable code. The decisive questions are whether the artwork stays sharp, remains square, and preserves its clear border.
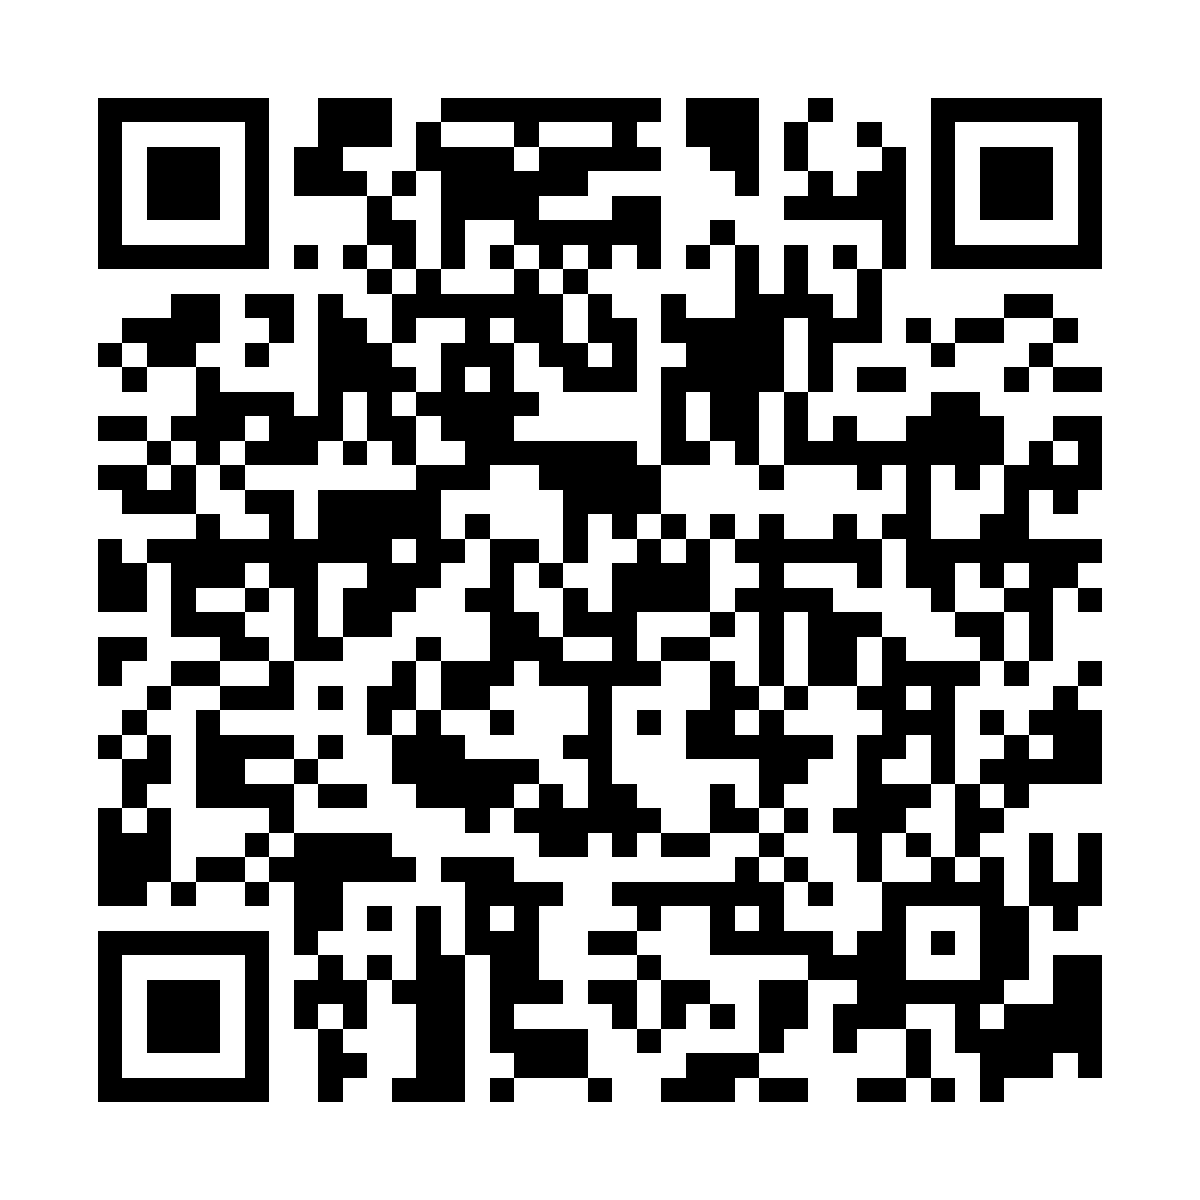
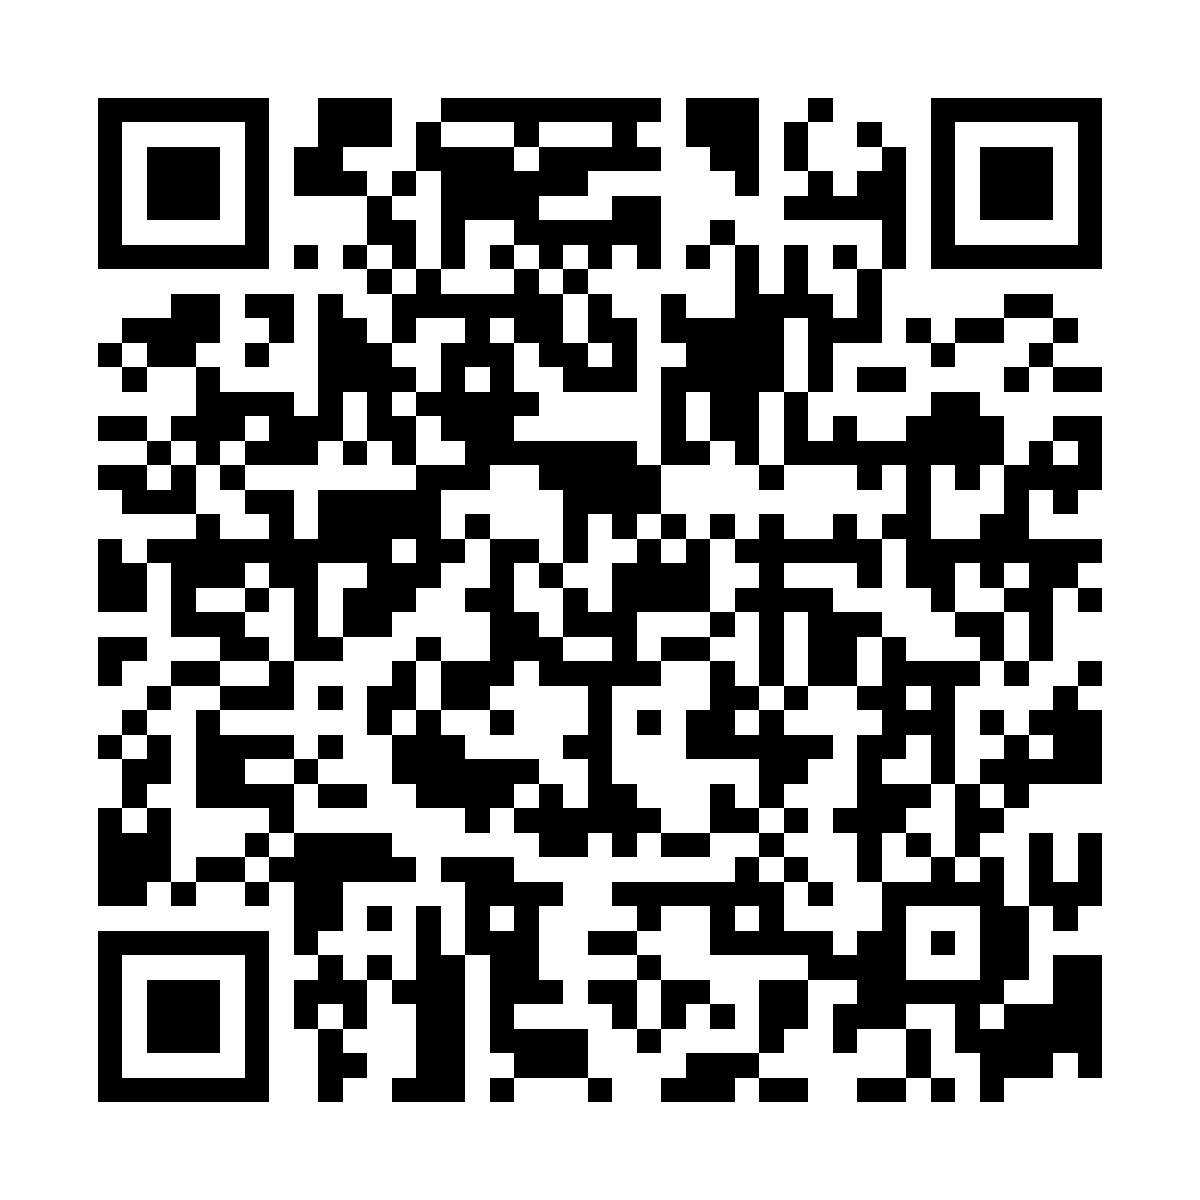
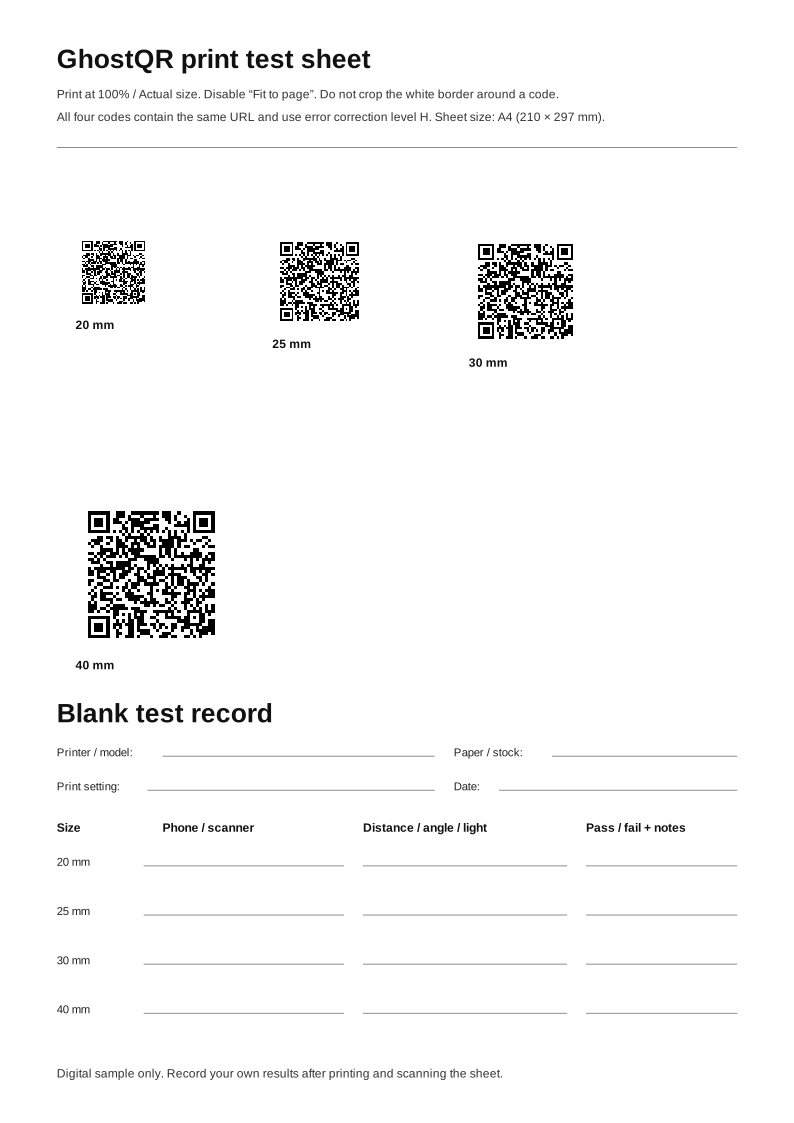
This guide includes an SVG sample, the matching 1200 px PNG, and an A4 print test sheet. The two sample files encode the same URL and come from the same QR matrix, so you can compare file handling without changing the code itself.
PNG and SVG solve different problems
| Format | Best use | Main risk |
|---|---|---|
| SVG | Layout, signage, packaging, and artwork that may change size | Some upload tools and office software do not accept it or rasterise it on import |
| PNG | Office apps, online portals, and fixed-size jobs with known resolution | Enlarging a small file creates soft or uneven module edges |
SVG describes shapes in a coordinate system, so a layout program can redraw those shapes at the output size. The W3C describes SVG as a format that scales to different display resolutions. PNG stores a fixed grid of pixels. Its compression is lossless, according to the W3C PNG specification, but lossless does not mean resolution-free. A 300 px image still has only 300 pixels across when enlarged.
For a print supplier, send SVG if their workflow supports it. Keep a high-resolution PNG as a compatibility fallback. Do not convert the code to JPEG: its lossy compression can add ringing and grey blocks around the hard black-and-white edges.
How many pixels does a PNG need?
Calculate the required image width from the final physical size: inches × image ppi = pixels. A 40 mm code is about 1.575 inches, so 300 pixels per inch (ppi) requires about 473 pixels. At 600 ppi it requires about 945 pixels. Export above that requirement, place it at the intended size, and avoid resampling it repeatedly between applications. Image ppi describes the supplied pixels; printer dpi describes the dots the device can place. Ask the supplier for their required image resolution.
There is a second constraint inside the image. Each QR module, the individual black or white square, must land cleanly on the printer grid. DENSO WAVE recommends rendering each module with at least four printer dots for stable operation. Longer content and higher error correction can create more modules, so two codes at the same outside dimensions may not be equally easy to print.
A high pixel count cannot repair a blurred source, a screenshot, or a code that was stretched. Start from the original download. Resize width and height together, and let the printer or prepress operator know the intended physical width.
Protect the quiet zone and the square modules
A standard QR code requires a clear margin four modules wide on every side. DENSO WAVE calls this the quiet zone. It is part of the working code area, even though it looks empty. Do not crop it away or allow text, borders, patterns, folds, or another code to enter it.
- Use a dark code on a plain, light background with strong contrast.
- Keep the artwork square. Do not drag one resize handle independently.
- Avoid transparency unless the final background is known and tested.
- Keep it away from folds, curves, reflective foil, seams, and trim tolerances.
- Ask the supplier to disable smoothing that softens the module edges.
Error correction helps recover some missing or damaged information, but it is not a licence to decorate without testing. If a placed code is already failing, work through the QR code not scanning checklist before ordering another run.
A practical preflight before you approve the job
- Create the final destination in the QR code generator and download the original SVG and PNG.
- Place the SVG in the production artwork. If SVG is unsupported, use a PNG whose pixels meet the final size and ppi calculation.
- Confirm the code is square, high contrast, and surrounded by its full quiet zone.
- Export the actual press-ready PDF or other delivery file. Scan that exported file on screen to catch conversion or placement mistakes.
- Print a proof with the production printer, stock, finish, and scale. A desktop paper proof cannot reproduce every risk from coated packaging, vinyl, or a curved surface.
- Scan the physical proof with more than one representative phone, from the intended distance and angle, under realistic lighting.
- Check the decoded URL before opening it, then confirm the destination loads correctly.
The supplied test sheet is a starting point, not evidence that your job will scan. Print it at 100% or “Actual size” with “Fit to page” disabled. It includes 20, 25, 30, and 40 mm copies of one code plus a blank record for your own printer, paper, device, distance, lighting, and result. No physical printer or phone result is claimed by this guide.
What to send to the printer
Send the complete press-ready artwork, the original QR SVG, and a high-resolution PNG fallback. State the intended printed width and ask the supplier not to crop, stretch, redraw, or apply image effects to the code. If they convert the SVG, ask for a proof from the converted file.
Approve the run only after scanning a physical production proof. Digital checks can confirm dimensions, payload, and file structure. They cannot reproduce ink spread, toner gaps, glare, lamination, paper texture, curvature, viewing distance, or the behaviour of the phones your audience actually uses.